Recovery Position and Basic First Aid: How to Apply First Aid Correctly
Fundamental first aid measures for workplace first aiders: recovery position, emergency call, basic life support, shock management, and common mistakes. Ideal as a refresher for workplace first aiders and as a foundation for workplace first aid training.

Author: Dr. med. univ. Daniel Pehböck, DESA
Specialist in Anesthesiology and Intensive Care Medicine, AHA-certified ACLS/PALS Instructor, Course Director Simulation Tirol
Reading time approx. 9 min
The recovery position, the correct emergency call, and basic life support are fundamental skills that can mean the difference between life and death in an emergency. Workplace first aiders in particular face the challenge of taking the right actions under stress and without extensive equipment – often months or years after their last course. This article provides a structured refresher on the most important first aid measures, highlights common mistakes, and gives you as a healthcare professional or workplace first aider clear action algorithms to follow.
The Foundation: Safety and a Structured Approach
Before you attend to an unconscious or injured person, one golden rule applies: Your own safety comes before helping others. This isn't an empty slogan – it's a maxim with both clinical and legal relevance. An injured first aider can't help anyone and ties up additional rescue resources.
The ABCDE of Initial Assessment
A structured approach borrowed from professional emergency medical services has also proven effective in the workplace setting:
- Secure the scene: Identify and secure the danger zone (traffic, electricity, chemicals, machinery)
- Check consciousness: Speak loudly, gently shake the shoulders
- Emergency call: 144 (ambulance in Austria), alternatively 112 (European emergency number)
- Check breathing: Tilt the head back, look – listen – feel (maximum 10 seconds)
- Definitive measures: Recovery position if breathing is present, CPR if breathing is absent
This sequence gives you a clear order of actions that is reproducible even under stress. The key point: No more than 30–60 seconds should pass between finding an unconscious person and beginning definitive measures.
The Emergency Call: More Than Just a Phone Number
The emergency call is not a mere formality – it is the single most critical step in the chain of survival. Every minute of delay in making the call worsens the outcome, especially in cardiac arrest, where the probability of survival drops by approximately 7–10% per minute without resuscitation.
The 5 Key Questions
- Where is the emergency? (Address, floor, building section, access information)
- What happened? (Fall, unconsciousness, shortness of breath, burn)
- How many injured/affected persons are there?
- What injuries or symptoms are present?
- Wait for questions from the dispatch center
A common mistake: First aiders hang up before the dispatch center has ended the call. The dispatchers often provide valuable instructions – such as telephone-guided chest compressions (telephone CPR). Put the phone on speaker and follow the instructions while you help simultaneously.
Special Considerations in the Workplace
In a workplace setting, you should know:
- Where is the nearest defibrillator (AED)?
- Is there an internal emergency number?
- How is access for the emergency medical services organized (barriers, reception, elevators)?
- Who will direct the ambulance to the scene?
These organizational questions should ideally not be addressed for the first time during an actual emergency but should be part of every workplace first aid training.
The Recovery Position: Indication, Technique, and Pitfalls
The recovery position is one of the most frequently taught yet also most frequently incorrectly performed measures in first aid. Its purpose is clear: Securing the airway in unconscious persons who are still breathing.
When Is the Recovery Position Indicated?
The indication is clearly defined:
- The person is unconscious (does not respond to verbal or painful stimuli)
- Breathing is present (normal breaths are detectable)
- There is no cardiac arrest
The pathophysiological rationale: In unconsciousness, muscle tone is lost, the tongue falls backward and obstructs the airway. At the same time, protective reflexes (coughing, swallowing) are abolished – vomit, blood, or saliva can be aspirated. The lateral position uses gravity to keep both the tongue and fluids away from the airway.
Recovery Position Technique – Step by Step
- Kneel beside the person (on the side you want to roll them toward)
- Place the arm nearest to you at a right angle to the body (palm facing up)
- Grasp the far arm and place the back of the hand against the cheek facing you – hold it in place
- Bend the far leg at the knee and use it as a lever
- Roll the person toward you by pulling on the bent knee
- Position the upper leg so that the hip and knee are stabilized at a right angle
- Tilt the head back to keep the airway open
- Open the mouth slightly downward so that fluids can drain
Common Mistakes With the Recovery Position
In practice, the following problems are seen regularly:
- No airway management: The person is rolled onto their side, but the head is not tilted back. This defeats the primary purpose of the maneuver.
- Unstable positioning: The leg and arm do not adequately stabilize the position – the person rolls onto their stomach or back onto their back.
- Forgetting repeated breathing checks: The recovery position is not a "once and done" measure. You must continuously monitor breathing.
- Delay in starting CPR: If the person in the recovery position stops breathing, they must be immediately rolled onto their back and chest compressions must begin.
- Application with suspected spinal injury without weighing risks: In cases of suspected cervical spine trauma, airway management still takes priority. The recovery position may be performed if the alternative means aspiration and airway loss – ideally with cervical spine stabilization by a second helper.
An Important Note on Agonal Breathing
Agonal breathing (gasping) is not normal breathing. It occurs in up to 40% of patients in the first minutes after cardiac arrest and is frequently misinterpreted by lay rescuers as a sign of normal breathing. The consequence: The person is placed in the recovery position instead of being resuscitated – a potentially fatal error. Agonal breathing presents as irregular, sighing, or snoring breaths with long pauses. When in doubt: Begin chest compressions.
Basic Life Support (BLS): The Algorithm for First Aiders
If an unconscious person is not breathing normally, cardiac arrest is highly likely. In this case, the BLS algorithm begins:
BLS Algorithm for First Aiders
- Ensure safety
- Check consciousness (speak to and shake the person)
- Call for help – involve bystanders
- Open the airway (head tilt, chin lift)
- Check breathing (look – listen – feel, max. 10 seconds)
- Call 144/112 (or have someone call), have someone fetch an AED
- Begin 30 chest compressions:
- Compression point: Center of the chest (lower half of the sternum)
- Compression depth: 5–6 cm
- Rate: 100–120/min
- Full chest recoil between compressions
- 2 rescue breaths (1 second each, visible chest rise)
- Continue at a 30:2 ratio until:
- Professional help arrives
- An AED is ready for use
- The person shows clear signs of life
- You are physically unable to continue
What Really Matters
The quality of chest compressions is the decisive factor for survival. According to current evidence and the AHA Guidelines, the following quality criteria apply:
- Push hard: 5–6 cm depth – most first aiders compress too shallowly
- Push fast: 100–120 compressions per minute – a good rhythm matches the beat of "Stayin' Alive" (Bee Gees)
- Let go: Full chest recoil between compressions – "leaning" on the thorax massively reduces venous return
- Minimize interruptions: Every pause in chest compressions causes the coronary perfusion pressure to drop. Keep no-flow times under 10 seconds
If as a first aider you cannot or do not want to perform rescue breathing – for example due to lack of a barrier device or personal reluctance – continuous chest compressions without ventilation is significantly better than no resuscitation at all. The AHA Guidelines support Hands-Only CPR as an equivalent option for lay rescuers in witnessed adult cardiac arrest.
AED Use
The automated external defibrillator is the most important device in a first aider's equipment. In ventricular fibrillation – the most common initial rhythm in sudden cardiac death – defibrillation is the only causal therapy. Every minute without defibrillation reduces the chance of survival by approximately 10%.
The operation is intentionally kept simple:
- Turn on the AED
- Apply the pads as shown in the diagram (right below the collarbone, left below the armpit)
- Follow the voice prompts
- During rhythm analysis, do not touch the person
- If a shock is advised: Ensure no one is touching the person, deliver the shock
- Immediately resume CPR at 30:2 after shock delivery – do not wait to check for a pulse
Shock Management: Recognition and Initial Measures
The term "shock" is used loosely in everyday language, but in medicine it refers to life-threatening circulatory failure with inadequate tissue perfusion. For workplace first aiders, hypovolemic shock (blood loss, fluid deficit) and anaphylactic shock (allergic reaction) are particularly relevant.
Recognizing Shock
- Pale, cool, clammy skin
- Rapid, weak pulse (tachycardia)
- Rapid, shallow breathing
- Restlessness, anxiety, confusion
- Altered consciousness progressing to unconsciousness
Initial Measures for Shock
- Call emergency services
- Control bleeding (direct pressure, pressure bandage)
- Lay the person flat, elevate the legs (approximately 20–30°) – the so-called shock position. Caution: Not in cases of suspected spinal injury, chest trauma, traumatic brain injury, or shortness of breath
- Maintain body temperature: Emergency blanket or regular blanket – hypothermia significantly impairs coagulation and outcome
- Psychological support: Speak calmly, alleviate anxiety, provide visual privacy
- No oral fluids – even if the patient expresses thirst. Risk of aspiration and potential anesthesia induction in hospital argue against it
Special Case: Anaphylaxis
In anaphylactic shock (e.g., insect sting, food allergy), laying the person flat with elevated legs is essential – sitting or standing the person up can lead to cardiac arrest due to loss of venous return. If the affected person carries an epinephrine auto-injector (e.g., EpiPen®), assist with self-administration or administer it into the anterolateral thigh if the person is unable to act. The dose is typically 0.3 mg (adults) or 0.15 mg (children 15–30 kg).
Common Mistakes in Workplace First Aid
From experience with workplace first aid courses and simulation training, recurring error patterns emerge:
| Mistake | Consequence | Solution |
|---|---|---|
| Hesitating too long before calling emergency services | Delayed emergency medical services, no telephone CPR | Always call immediately, even if uncertain |
| Misinterpreting agonal breathing as normal breathing | No CPR during cardiac arrest | When in doubt: start CPR |
| Chest compressions too shallow | Insufficient blood flow | 5–6 cm depth, regular training |
| Not removing the helmet (motorcycle accident) | Airway management impossible | Remove helmet with two helpers, airway takes priority |
| Fear of tourniquet use | Life-threatening bleeding uncontrolled | In massive extremity bleeding, a tourniquet is life-saving |
| No breathing checks in recovery position | Cardiac arrest goes unnoticed | Regular checks every 1–2 minutes |
Psychological Aspects: Acting Under Stress
One aspect that is often underemphasized in refresher courses is the psychological dimension. Most first aiders theoretically know what to do – they fail at implementing it under real stress. Typical phenomena:
- Bystander effect: In groups, no one feels responsible. Solution: Address individuals directly and assign specific tasks ("You in the blue jacket – call 144 now!")
- Freezing: Complete inability to act. Solution: Simple, well-trained algorithms that run automatically
- Disgust barrier: Contact with blood, vomit, or mouth-to-mouth ventilation. Solution: Gloves and a pocket mask in every first aid kit, Hands-Only CPR as a valid alternative
Regular hands-on training – ideally in realistic scenarios – is the only effective way to overcome these barriers. Theoretical knowledge alone is not enough.
Documentation and Aftercare
Often forgotten but important: Every first aid intervention in the workplace should be documented. This serves occupational safety, workers' compensation insurance (AUVA), and quality assurance. Document:
- Time and location of the event
- Type of injury or illness
- Measures taken
- Condition at handover to emergency medical services
Don't forget aftercare for the helpers either. A stressful intervention – particularly a resuscitation – can leave psychological traces. In a workplace setting, there should be a low-threshold option for debriefing or psychological support.
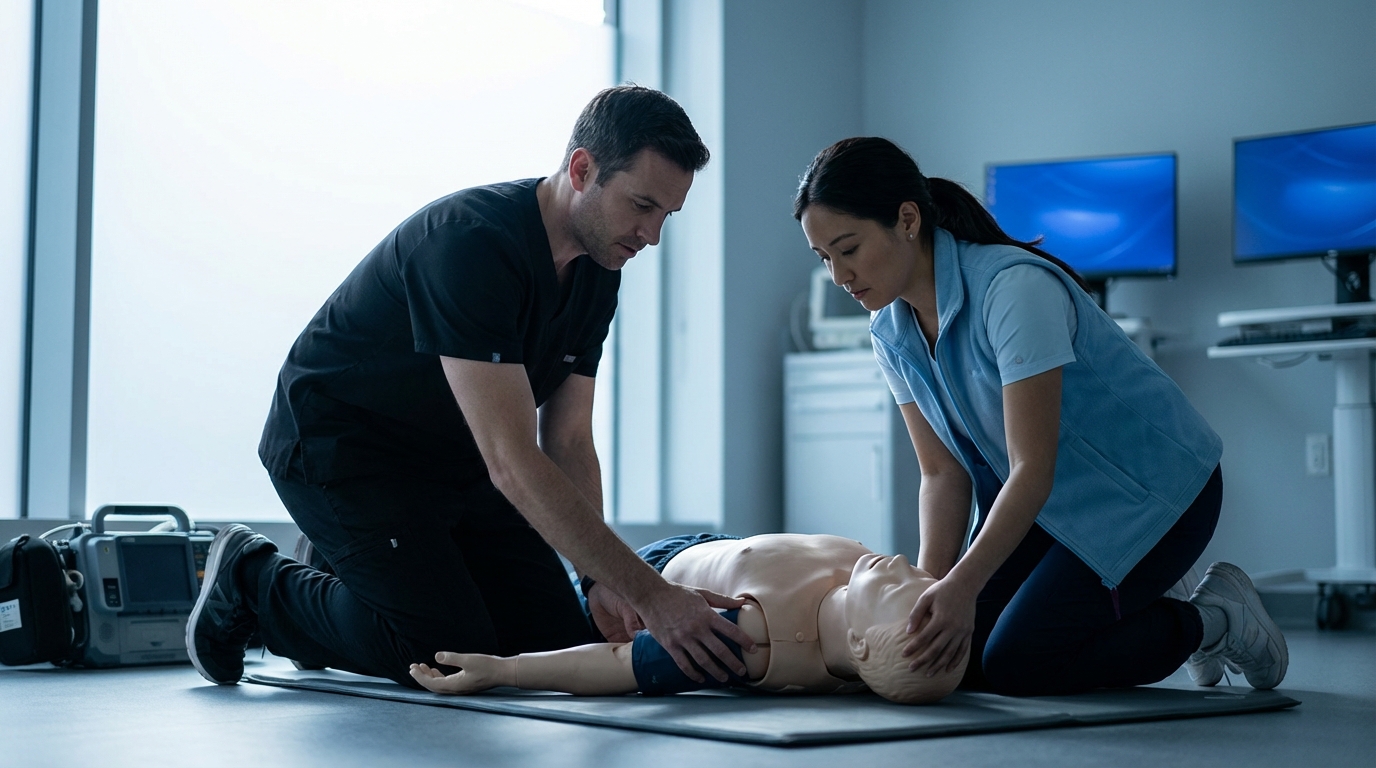
Practical Training
The recovery position, basic life support, and shock management are skills that must be regularly practiced hands-on – theoretical knowledge alone does not reliably lead to correct action in an emergency. In the first aid courses from Simulation Tirol, you train these measures in realistic scenarios, practice using AEDs and ventilation aids, and receive qualified feedback on your technique. Especially for workplace first aiders whose last course was some time ago, this training offers the opportunity to regain confidence and be ready to act in an emergency.
Want to practice this hands-on?
In our Erste Hilfe Kurs für Firmen you practice this topic hands-on with high-tech simulators and experienced instructors.
More Articles
Automated External Defibrillator: A Guide for First Responders
AEDs are widely available, but many laypeople hesitate to use them. This article explains how they work, correct pad placement, common mistakes, and provides practical tips for training first responders in the workplace.
First Aid for Seizures: Positioning, Protection, and Calling Emergency Services
Laypeople and first responders often look for concrete instructions on how to handle epileptic seizures. This article debunks common myths and provides a clear step-by-step guide.
Choking Emergency in Children: Foreign Body Airway Obstruction Algorithm
Foreign body aspiration is one of the most common preventable causes of death in childhood. This article describes age-dependent interventions (back blows, Heimlich maneuver), differentiation of mild vs. severe obstruction, and handover to the emergency team.